Traction Skill Check
PTA 104L Ortho Dysfunctions Lab
You can view the full length video in three (3) parts
Lumbar traction, part 1
Lumbar traction, part 2
Lumbar traction, part 3
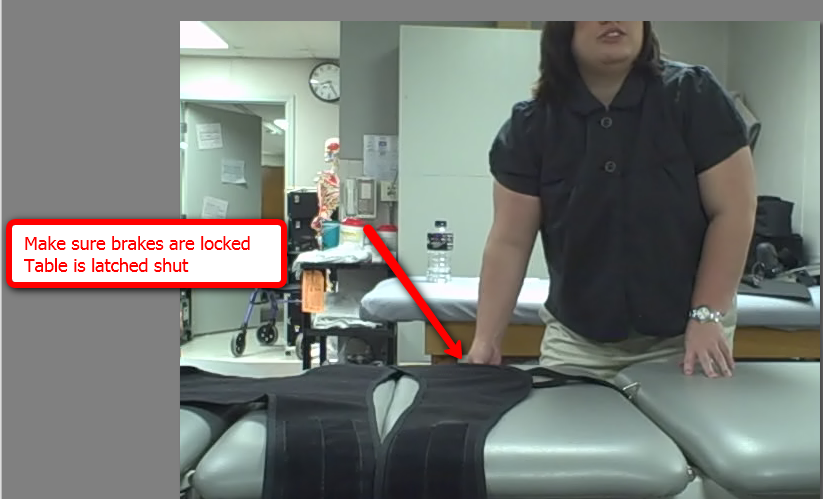
Thoracic and pelvic straps should be open and on table, lumbar spine is positioned where table splits
Be sure you provide a pillow for patient comfort and head support.
Tighten and secure straps around thorax and lumbopelvic regions
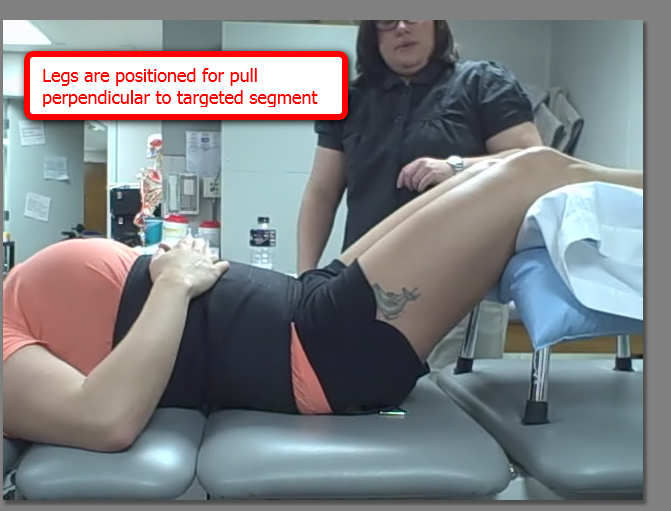
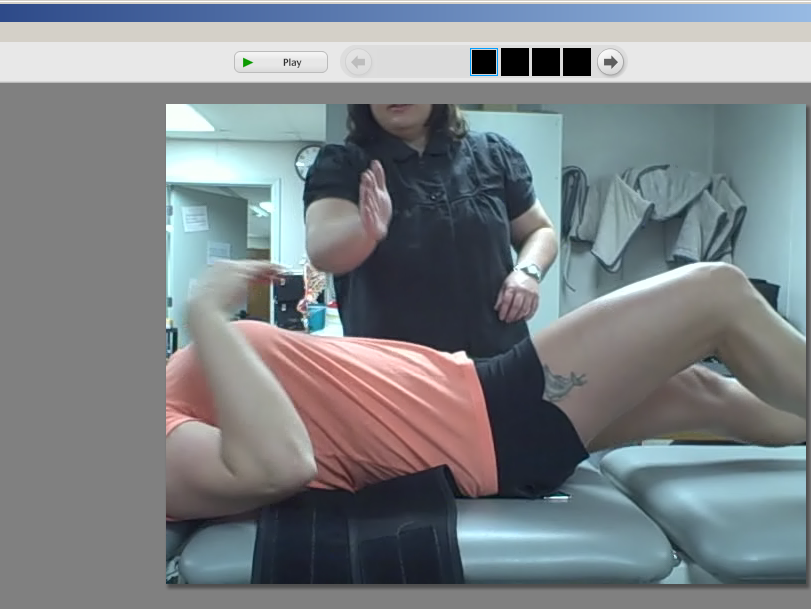
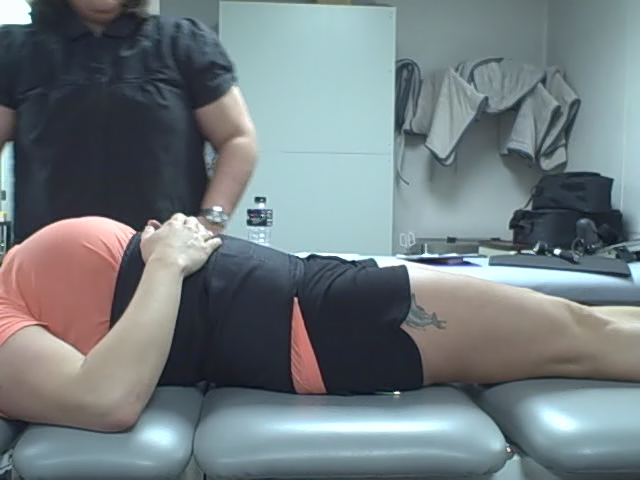
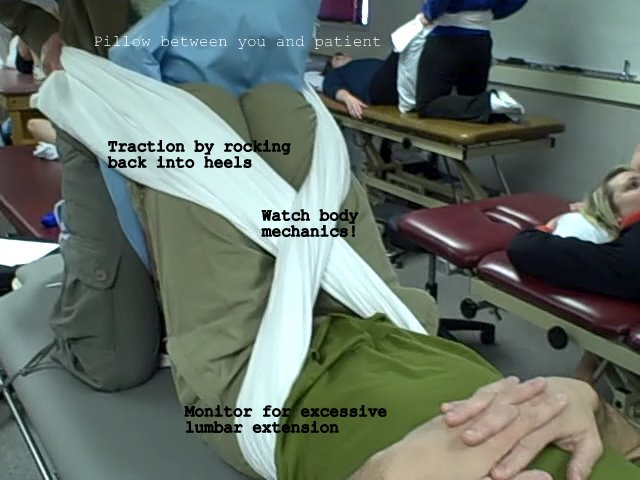
Use traction stool or some other padded stool to position lower extremities for comfort and to obtain correct angle of pull for targeted segment
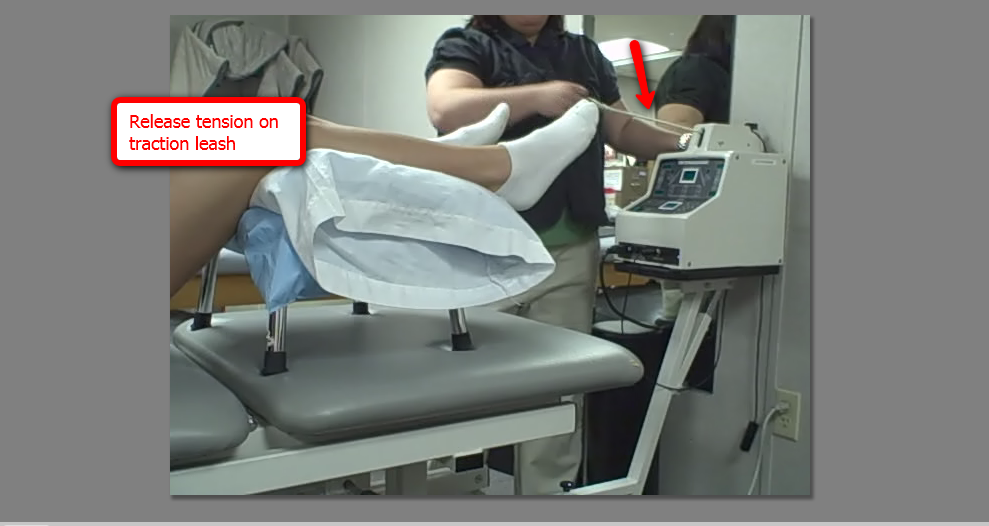
Release enough slack in leash to allow 'S' ring on traction pull to attach to 'D' ring on pelvic strap
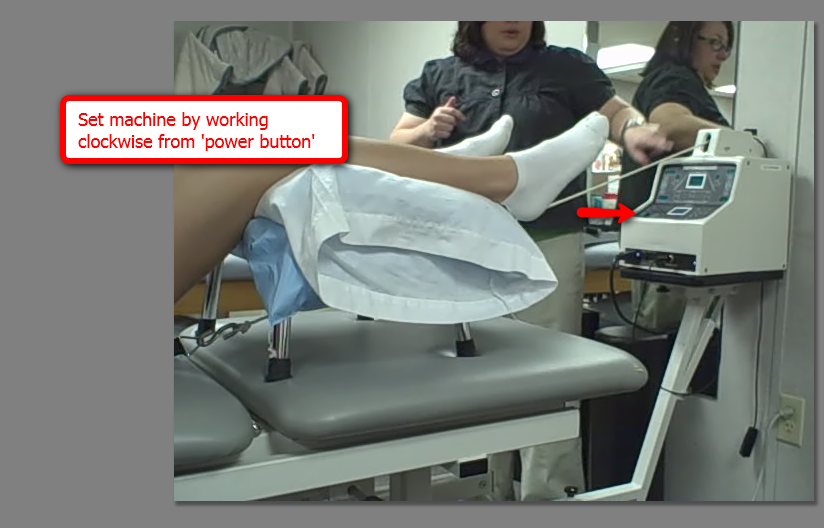
Work "clockwise" when setting traction
Turn power on
select 'lumbar'
set 'min' pull - enter poundage
set 'max' pull - enter poundage
set 'steps' which will allow incremental increases in pull toward max (set at 2 in video)
set 'static/intermittent'
patient comfort specific for condition
set 'step down' which will allow incremental decreases in release of pull toward min (set at 2 in video)
set 'time' of treatment
check patient comfort
Press 'start'
Check patient comfort
Open table
For 'intermittent' open up table during release
Hand patient the "traction release" button
Hand patient call bel
When traction stops, release 'S' ring from traction leash
Lock table, watch for clothing
Release straps and assist legs off of stool
Allow rest break
increase abdominal fat may result in poor belt fit
advise patents to avoid loose clothing
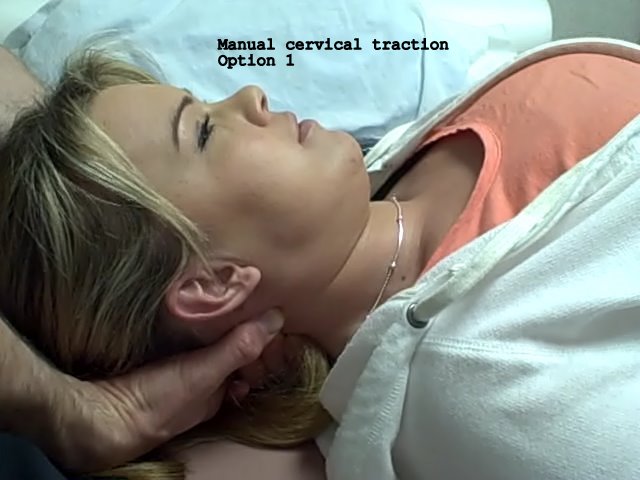
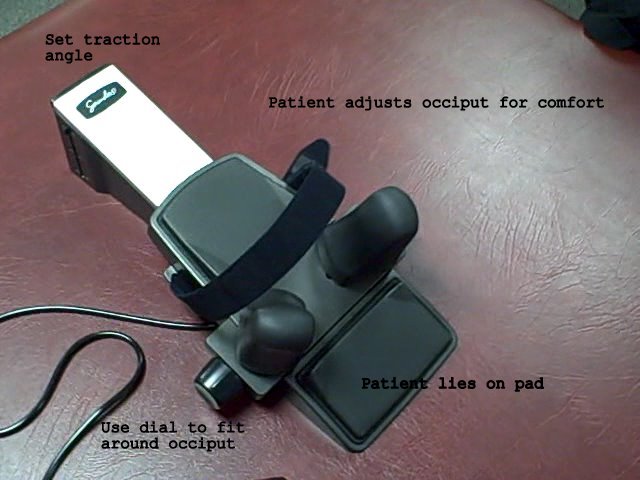
Check and loosen strap, open up neck to max opening, set traction angle for patient condition
Patient uses good body mechanics: sit to sidelying, log roll into traction
Cue pt to scoot down toward feet so that occiput pads are secure under occiput; position pillows for comfort under knees; remove hair away from moving parts
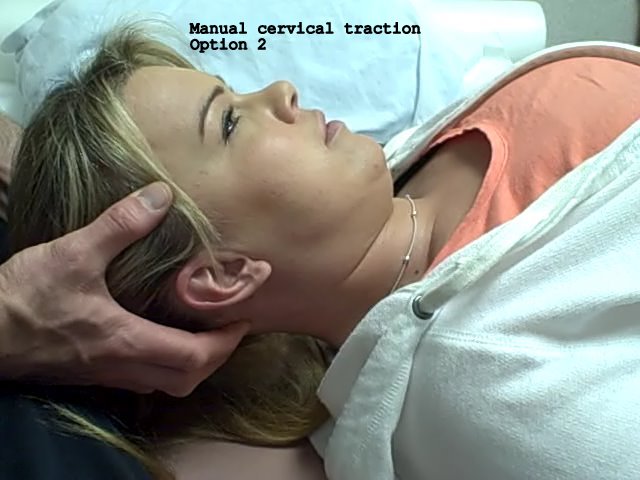
Slowly decrease neck width so occiput pads are fitted firmly; check patient comfort
Set hand pump to 'Pump'
Slowly add pounds of pull using hand pump, set to "hold" at desired poundage, decrease as needed for patient comfort
8-10# recommended at first for low load prolonged stretch to soft tissue x 90 seconds
Set hand pump to "release" to decrease traction pull
Repeat cycle according to patient need (intermittent vs. static)
Leave call bell if unattended
Set timer to remind yourself to check on patient
Allow at least one minute rest in supine and one minute rest with return to sitting following traction
Be sure to instruct patient on proper body mechanics when exiting traction device
Several methods are presented in Kisner and Colby, pg. 446, figure 16.5. Be sure you are monitoring your body mechanics by shifting weight to provide traction vs. using arms/elbows to pull