Health Professions Division
Eugene, OR
541-463-5533

Hanging Tomato Plant
Below are
my instructions.
|
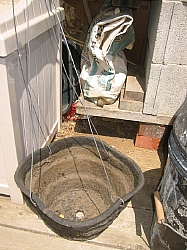
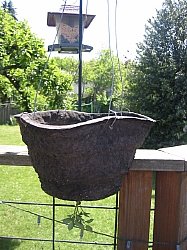
This is a heavy 12" heavy cardboard pot that we've used for 3 years. |

There are a variety of ways to widen the hole in the bottom. We used a "spade" drill bit. |
 |
 |
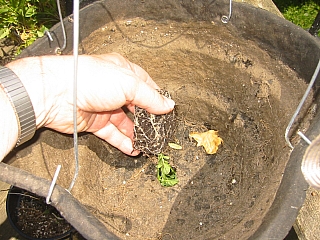
I bought a four
pack of 2 inch tomato
starts.
|
 |
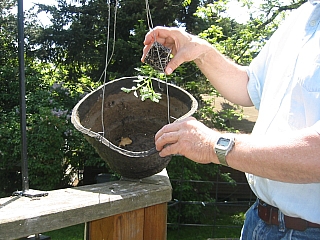
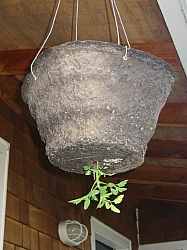
and Jim put the start through the hole. |
 |
 |
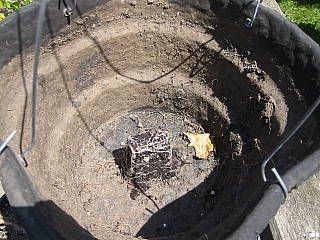 |
Soil went into the top.... |
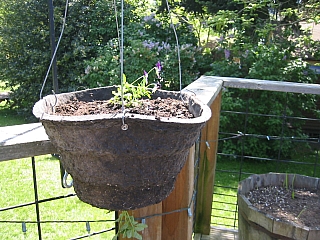
....and then a little viola
planted there.
|
 |
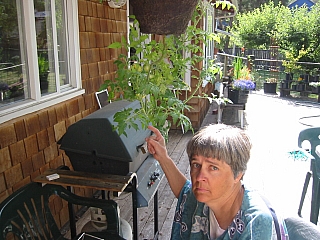
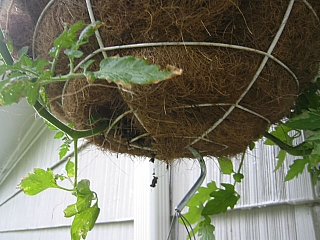
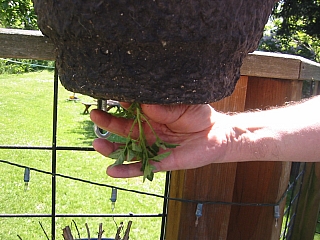
This is 12 hours after I planted it in mid May. It has already curled so it can grow up. |
|

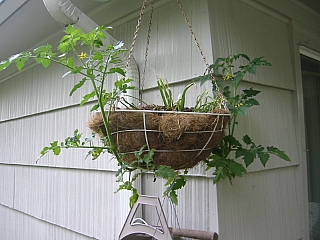
This was early June another year when I planted ivy in the top. |

From our kitchen window, we watched it growing up, but then beginning to start down as it got heavier. |

|

late July |
 Another year we had tomatoes called
"Juliett".
|

This is the first year we did it, when I planted lobelia in the top. As with many tomato plants, by late August they're still bearing tomatoes, but the greenery looks pretty puny. |

One year I had a contest with my baby brother, who lives in Arlington, Virginia, to see who could get the first ripe tomato in June. Can you tell who won? |
But who had the healthiest-looking plant? |
|
 This is how a friend did it. In late April, she poked the tomato start up root first through the bottom of the planter. There was already a little soil there and she added more. |
|
|